
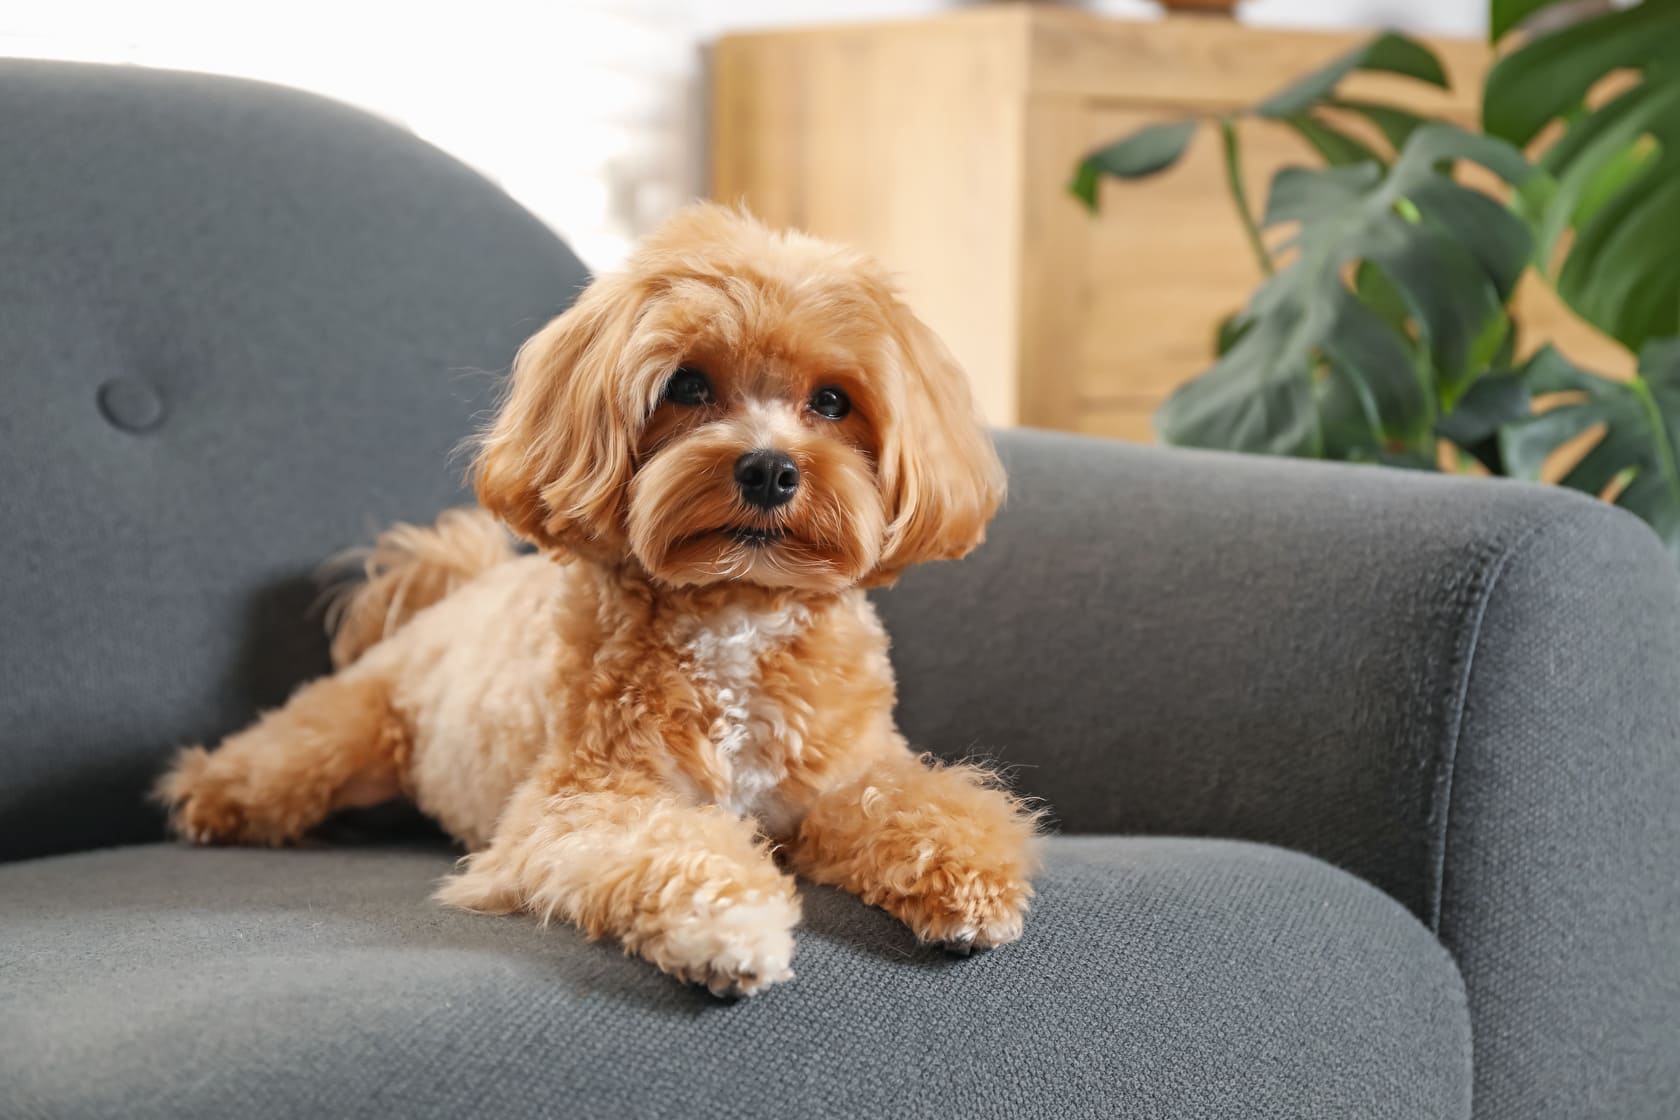
When you see a Bichon or a Poodle on social media that's as fluffy as a cloud and as adorable as a stuffed toy, are you filled with longing? That perfectly round, full-bodied look without a single stray hair is the ultimate dream for every curly-coated dog owner. However, reality is often harsh. After a bath, the wet curls quickly twist together, forming a series of hard-to-comb "knots." If not handled properly, these can develop into a hard, painful "pelt" tight against the skin within days.
Why does the "walking cotton ball" of your dreams always turn into a "matted mop" in your own hands?
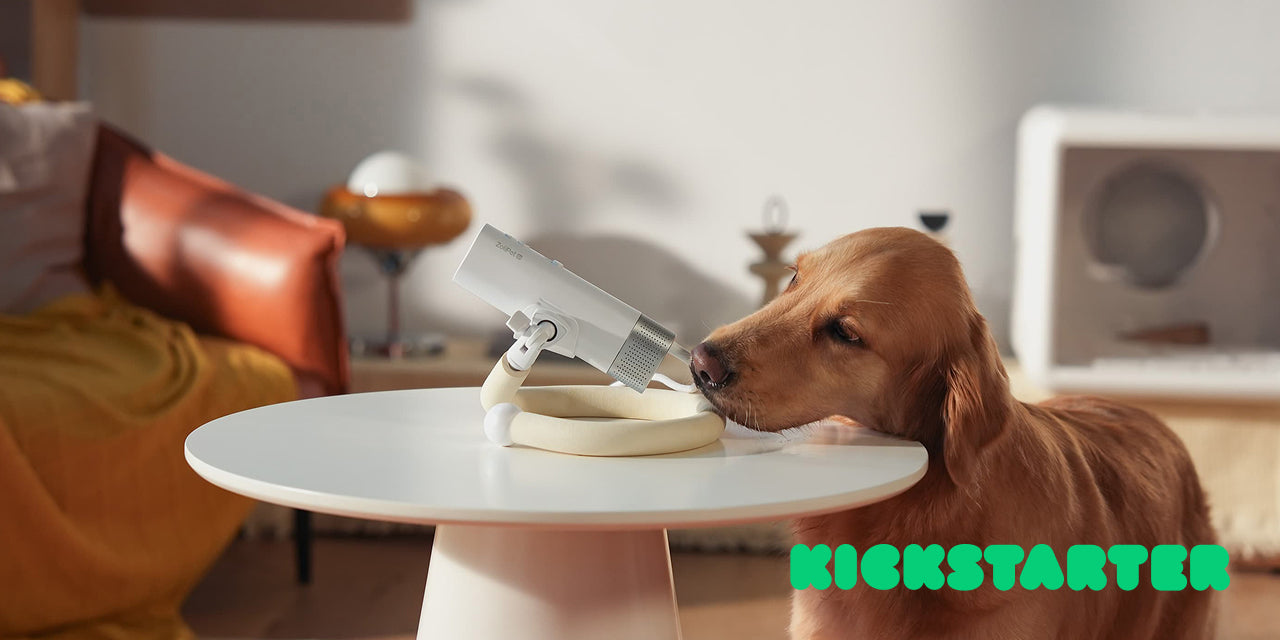
The answer lies in a crucial step overlooked by the vast majority of non-professional owners: Fluff Drying. This is not simply about "drying" off moisture; it is a professional technique that combines tools, skill, and patience to reshape the hair's structure from the root and prevent matting. Today, we will pull back the curtain on this mystery, empowering you to create a professional-level fluffy style for your beloved pet right at home.
how to fluff dry a poodle, drying a curly-coated dog, bichon frise grooming, preventing mats in doodles, stretch drying dog, line brushing poodle, pet dryer for curly hair, professional dog grooming techniques
The "Curse" of the Curl: Why It's Both an Angel and a Demon
To master the technique, you must first understand the principle. The coat structure of a curly-haired dog is unique. It is typically a single coat, and it doesn't shed profusely in regular cycles like other breeds. Instead, the dead hairs that do fall out get "hooked" by the healthy, curly hairs, remaining trapped within the coat.
The Scientific Principle: The Formation of Knots and Pelts
-
Source: The official grooming guides for Poodles, Bichons, and similar breeds from the American Kennel Club (AKC).
-
Core Argument: Experts at the AKC point out that when these trapped dead hairs and living hairs are subjected to the dual forces of moisture and friction, they rapidly entangle and tighten like yarn, forming initial small knots. If the curly hair is not immediately stretched and dried after a bath, it will contract and tighten as it air-dries, pulling even more hair into the tangle. Eventually, countless small knots merge into a single, thick, hard "pelt" that lies tight against the skin like a carpet.
-
Health Risks: Once a pelt forms, it not only causes immense pain for the dog (imagine having your hair constantly pulled over a large area) but can also lead to redness, inflammation, and even infection on the skin underneath due to lack of air circulation. The code of ethics for the National Dog Groomers Association of America (NDGAA) even stipulates that for a severely pelted dog, the humane course of action is to shave the coat off completely, rather than subjecting the animal to the prolonged and extremely painful de-matting process.
The "Holy Trinity" on the Road to "Fluffy"
To achieve a professional fluff dry, you need a synergistic combination of tools.
-
Tool #1: The High-Velocity Dryer
-
Role: The Power Source. Its mission is not to "bake" the hair dry with heat, but to use powerful, controllable airflow as a "force" to impact, separate, and straighten each individual curl.
-
-
Tool #2: The High-Quality Slicker Brush
-
Role: The Main Workhorse. Its dense, slightly curved pins can reach deep to the roots, effectively separating hairs, removing dead undercoat, and applying the necessary tension in coordination with the airflow during the drying process.
-
-
Tool #3: The Steel Greyhound Comb
-
Role: The Quality Inspector. After drying each section, use the comb to test your work from root to tip. If it glides through without any snags, that section is perfect. If it catches on anything, it means there's still a tiny knot, and you need to go back to the previous step.
-
Fluff Drying: A Step-by-Step Tutorial from Professional Groomers
This is a meticulous task that requires patience and practice. Please follow these steps strictly.
Step 1: Post-Bath Prep Use a highly absorbent towel to press out excess water. On the damp coat, evenly spritz a high-quality pet leave-in conditioner or detangling spray. This will protect the hair cuticles, reduce friction, and make the subsequent steps much easier.
Step 2: Work in Sections, Conquer One by One Start with less sensitive areas like the hind legs or body. Isolate the section you are working on, using clips to hold the surrounding hair out of the way. Ensure you are focusing on only a small area at a time (e.g., 4x4 inches or 10x10 cm).
Step 3: The Core Technique - Opposite Tension and Constant Motion This is the soul of the entire process.
-
Turn on the dryer to a medium speed and a safe, low-heat setting.
-
Aim the nozzle at the section you are working on. The airflow will naturally push the hair in one direction.
-
With your other hand, hold the slicker brush and, working in the opposite direction of the airflow, gently but steadily brush from root to tip.
-
This action of "air blowing one way, brush pulling the other" creates a gentle "tension," which is the key to stretching the curly hair straight.
-
Your dryer nozzle and your brush need to move in coordination, constantly and simultaneously, ensuring that the heat and force are applied evenly to every strand, never lingering on one spot.
Step 4: Root First, Until Completely Dry Your attention must be 100% focused on the base of the hair. Only when the roots are completely stretched and dried can the entire hair shaft achieve a fluffy state. Repeat the actions from Step 3 until you can feel no trace of dampness or coolness when you touch the skin and roots in that section.
Step 5: The Comb Test for Perfection Once a section is complete, immediately take your steel greyhound comb, insert it at the base of the hair in that section, and glide it smoothly outwards. If it goes through without any snagging, congratulations, that section is perfect! Move on to the next one. If the comb gets stuck anywhere, it means there's a hidden knot. Immediately return to Step 3 and work it out with the slicker brush and dryer.
Real-World Case Studies
Case #1: The Pain of a "Pelt" - A Labradoodle's "Shave-Down" Experience
-
Case Source: A highly-upvoted help post on Reddit's r/doggrooming subreddit.
-
Time & People: Summer 2025, a novice owner named Chloe and her 10-month-old Labradoodle, "Barney."
-
Problem Progression: Chloe loved Barney's fluffy "teddy bear" look. After Barney went swimming, she would just towel-dry him and let him "air dry," thinking it would preserve his natural curls. However, after a few weeks, she noticed the fur on his belly, inner legs, and behind his ears had become as hard as a shell and was impossible to comb through.
-
Groomer's Intervention: She took Barney to a grooming salon, hoping to have the mats removed. After an examination, the experienced groomer regretfully informed her that these were not just knots but a full-blown "pelt," tight against the skin. Forcibly de-matting it would cause Barney extreme pain and risk tearing his skin. For humane reasons, the only option was a complete shave-down.
-
Result & Reflection: Barney came home bald, and Chloe was heartbroken. The groomer educated her: "For a curly-coated dog like a Doodle, fluff drying after a bath isn't an option; it's a necessity. Every time the coat gets wet and isn't properly dried, you're setting the stage for the next pelt." Chloe has since learned and consistently practices the proper drying method, and Barney has never had to be shaved down again.
Case #2: From "Little Mop" to "Cloud Dog" - A Bichon's Transformation
-
Case Source: A client transformation story shared by a professional groomer on her Instagram.
-
Time & People: 2024, a long-time client and her 2-year-old Bichon Frise, "Snowy."
-
Background & Transformation: The owner initially bathed Snowy at home but could never get her fluffy. After a bath, her curls would stick together, earning her the nickname "my little mop." She eventually started taking Snowy to the groomer for care.
-
Professional Process & Outcome: The groomer used a high-velocity dryer and skillful "fluff drying" techniques, transforming Snowy into a true "cloud" every time. Amazed, the owner decided to learn the technique herself. She purchased professional tools and practiced repeatedly at home with the groomer's guidance.
-
Final Result: The groomer posted a picture of the perfect style the owner had achieved at home and wrote: "Look! With practice, every owner can become their dog's top stylist. The key is to understand the principles, use the right tools, and invest the patience. Seeing Snowy stay this fluffy and healthy at home is my greatest pride as a groomer."
Conclusion: Drying is the Foundation of Both Style and Health for Curly Coats
For owners of curly-coated dogs, it's time to redefine the meaning of "drying." It is no longer simply about removing moisture; it is a crucial shaping process that prevents matting, maintains skin health, and lays the foundation for a perfect style. The powerful airflow from a high-velocity dryer and the slicker brush working in concert in your hand are the paintbrushes for creating your dream look. While it requires an investment of time and practice, the unparalleled sense of accomplishment and joy you'll feel when you can personally groom your beloved pet into a fluffy, soft, and healthy "cloud" will be the best reward.