
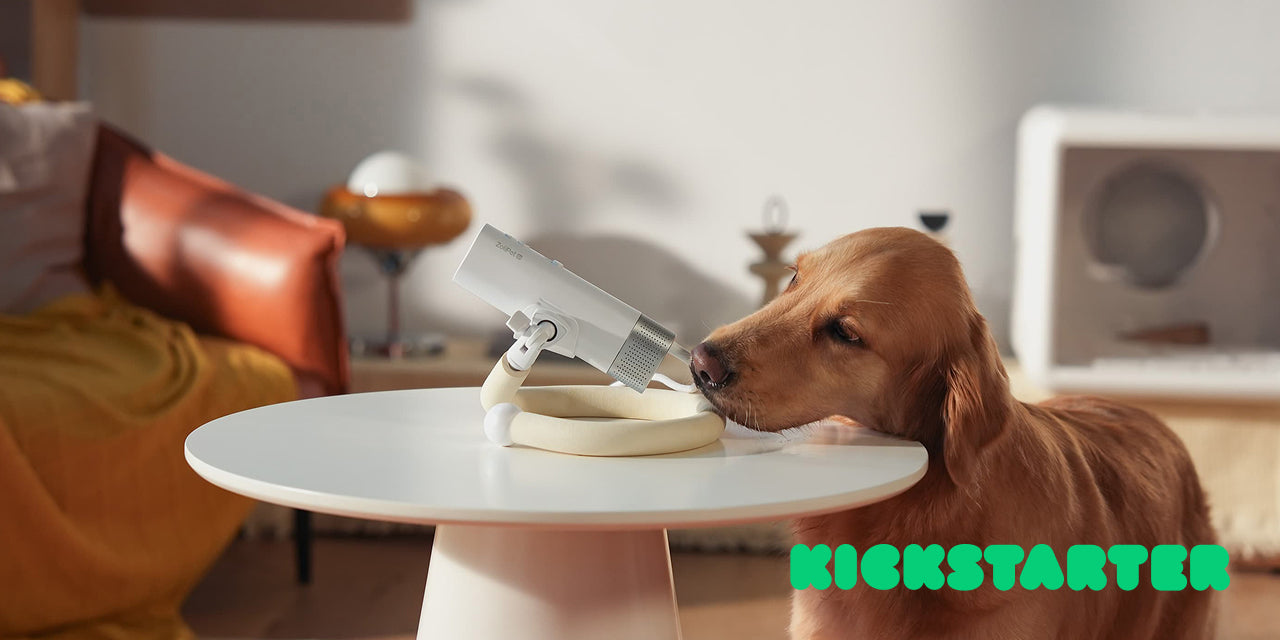
Once you've invested in a professional, high-efficiency pet dryer, the perfect ownership experience has only just begun. Like any high-performance piece of equipment, from a car to a computer, its peak performance and extended lifespan depend on one critical element: regular, proper maintenance.
Many pet owners only realize there's a problem when their dryer's power decreases, the noise level increases, or it starts to emit an odd smell—but by then, it may be too late. In fact, a neglected dryer is not just a quiet drain on your financial investment; it can also become a source of contamination that poses a health threat to your beloved pet.
This ultimate maintenance guide will teach you the simplest, most effective ways to clean and care for your pet dryer, ensuring it remains your most reliable, hygienic, and safe grooming partner for many years to come.
pet dryer maintenance, how to clean dog dryer, extend pet dryer life, grooming equipment hygiene, clean dryer filter, dog dryer safety, prevent dryer overheating, mold in dryer hose, pet grooming tips
Why Maintenance Isn't an "Option," But a "Necessity"
Understanding its importance is the first step toward consistent action.
-
For Your Pet's Health and Hygiene: This is the most crucial reason. A dirty dryer is an ideal breeding ground for bacteria, mold spores, and dust mites.
-
Scientific Evidence: The U.S. Centers for Disease Control and Prevention (CDC) notes that damp, dark tubes (like a dryer hose) are high-risk areas for mold growth. When you turn on a dirty dryer, the powerful airflow acts like a "cannon," blasting these invisible allergens and pathogens at high speed directly onto your freshly washed pet, whose skin pores are open. This can easily trigger or worsen skin allergies, respiratory irritation, and even fungal infections.
-
-
For the Device's Performance and Lifespan: The core of a pet dryer is its motor. A motor running at high speed needs to draw in a large amount of air for cooling. If the filter is clogged with pet hair, dander, and dust, it's like strangling the motor.
-
Consequences: The motor will continuously overheat due to inefficient cooling, leading to a permanent decline in performance, reduced power, and ultimately, a premature burnout. A simple cleaning action can directly determine whether your device lasts for two years or ten.
-
-
For Absolute Operational Safety:
-
Scientific Evidence: Reports from the U.S. Consumer Product Safety Commission (CPSC) repeatedly emphasize that clogged filters or vents in any electrical appliance are a major safety hazard that can lead to overheating and fire.
-
Your Maintenance Toolkit: Gather These Simple Tools
No complex equipment is needed. Everyday items can accomplish professional-grade maintenance.
-
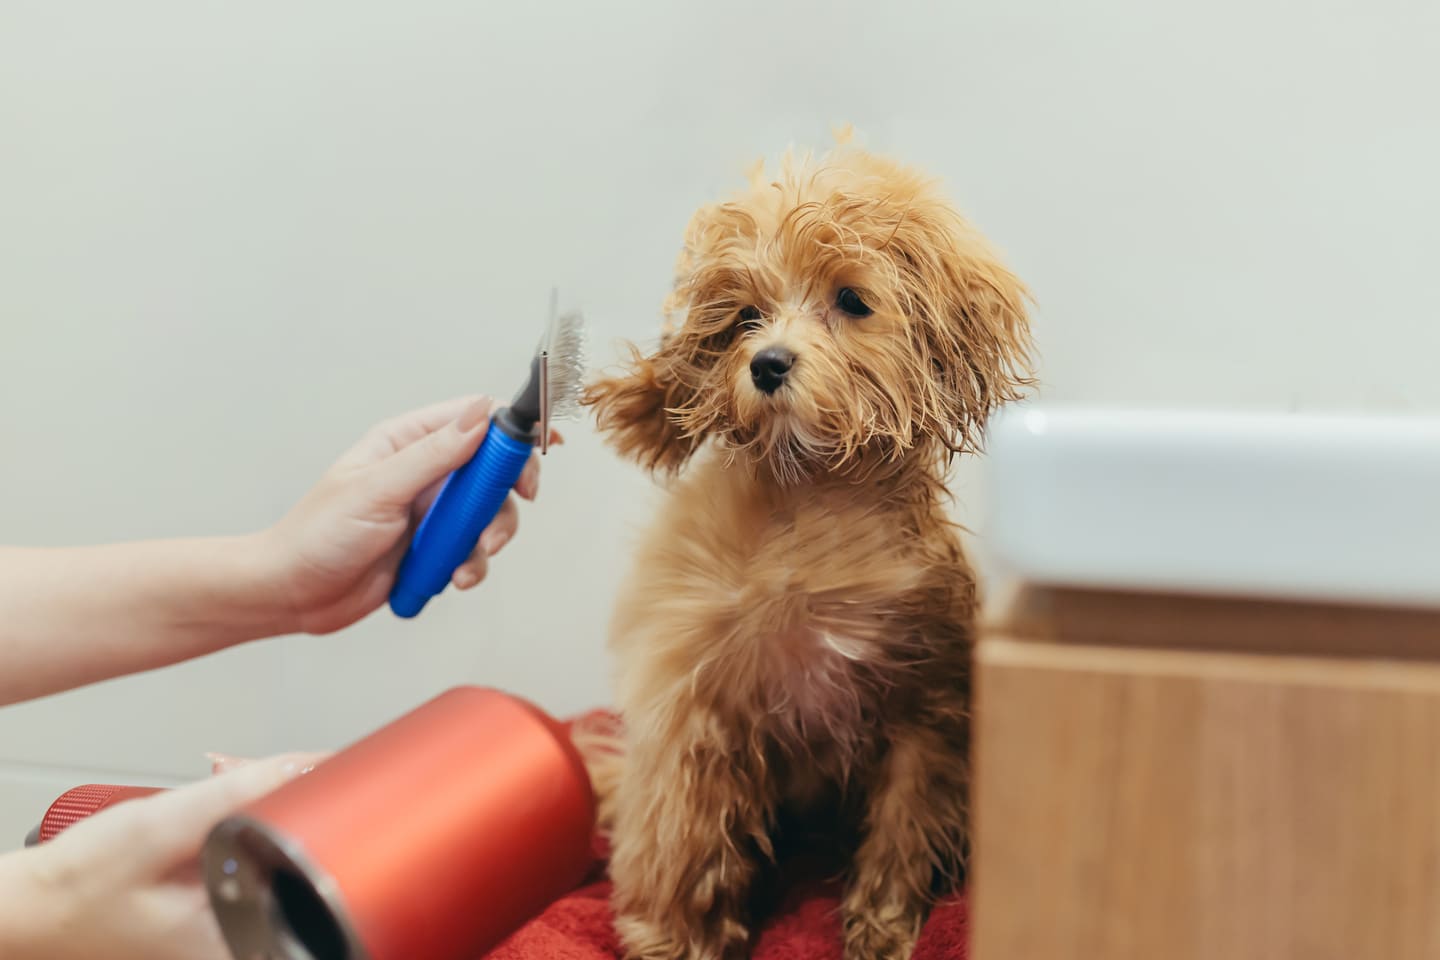
A soft-bristled brush or an old toothbrush
-
Mild detergent (like dish soap)
-
A soft, dry cloth or microfiber towel
-
(Optional) A flexible pipe cleaning brush (like a long-handled bottle brush)
-
(Optional) A can of compressed air
A Step-by-Step Maintenance Schedule: From "After Every Use" to "Every Quarter"
Establishing a regular maintenance schedule is the key to simplifying the process.
After Every Use (The 5-Minute Check)
-
Time Required: 2-5 minutes
-
Procedure:
-
Clean the Nozzle: Remove the nozzle and wipe the inside and outside with a damp cloth to remove residual hair and water spots.
-
Wipe Down the Housing: Use a dry cloth to wipe the exterior of the dryer's main body.
-
Quick Filter Check: Visually inspect the air intake filter cover. If you see any obvious clumps of hair, remove them.
-
Once a Week (The Weekly Deep Clean)
-
Time Required: 10-15 minutes
-
Focus: Cleaning the Filter
-
Unplug the Power: This is the first step for all operations to ensure safety.
-
Remove the Filter: Open the air intake cover and take out the filter (usually made of sponge or a composite material).
-
Dry Clean First: Use your hand or a brush to remove large clumps of hair and dust from the filter.
-
Wet Wash: Gently wash the filter with warm water and a small amount of mild detergent until it is clean.
-
Rinse Thoroughly: Rinse repeatedly under running clean water to ensure no detergent residue remains.
-
Dry Completely: This is a critically important step. Place the cleaned filter in a well-ventilated area to air dry completely. Never reinstall the filter while it is still damp or wet, as this will immediately promote mold growth and could damage the motor.
-
Once a Month (The Full System Flush)
-
Time Required: 15-20 minutes
-
Focus: Cleaning the Hose & Housing
-
Clean the Hose: Detach the hose from the main unit. Fill it with warm water and a mild detergent, block both ends, and shake it repeatedly. Then rinse thoroughly with clean water. You can use a pipe brush to help clean the inner walls. After cleaning, reattach the hose to the unit and run it on a cool air setting for a few minutes to use the powerful airflow to dry the inside completely.
-
Clean the Housing: Use a damp cloth to wipe all crevices and vents on the machine's body. For hard-to-reach corners, you can use a can of compressed air.
-
Real-World Cases: The Price of Neglected Maintenance
Case Study #1: The Dryer That Failed at a Critical Moment
-
Case Source: A post in a Facebook group called "Professional Pet Groomers Network."
-
Time & People: Summer 2025, a groomer running a small grooming studio.
-
Problem Progression: During a busy day of appointments, while drying a large Alaskan Malamute, her two-year-old dryer suddenly lost power, emitted a burning smell, and then shut off automatically. Only after the unit had cooled down did she remember to check the filter.
-
Result & Reflection: She attached a photo to her post: the filter was completely "felted" with a dense cake of multi-colored hair and dust, making it impermeable to air. Due to chronic overheating, the motor had sustained irreversible damage, and she ultimately had to spend several hundred dollars on a new machine. She lamented, "Ten minutes of cleaning each week could have saved me a huge loss of money and time. This is the most expensive lesson I've learned in my career."
Case Study #2: The "Mystery Cough" Caused by a Moldy Hose
-
Case Source: A pet owner's plea for help and subsequent update on a veterinary health forum.
-
Time & People: Autumn 2024, a 2-year-old Beagle named "Charlie" with mild asthma.
-
Problem Progression: The owner noticed that within 24 hours after every bath and drying session, Charlie would have a bout of "dry coughing," which would then resolve on its own. This continued for nearly two months. She took Charlie to the vet, ruled out other respiratory infections, and was left completely puzzled.
-
Intervention & Outcome: One day, while cleaning, she happened to shine her phone's flashlight inside the dryer hose and was horrified by what she saw: the inner walls of the hose were covered in speckled black mold spots. She immediately replaced the hose and, under her vet's guidance, began a regular cleaning schedule for the new one. Miraculously, Charlie's post-bath "mystery cough" never returned. She realized that every previous drying session had been equivalent to directly "blasting" a large number of mold spores into her already sensitive dog's respiratory tract.
Conclusion: Small Actions, Big Rewards
Maintaining your pet dryer is a task that requires minimal investment but yields immense returns. It doesn't require advanced skills, only your regular attention and a few minutes of simple actions. This small habit will reward you not only with a high-performing and long-lasting tool but also with a solid and reliable health barrier that protects your beloved pet from skin diseases and respiratory issues. It is a mandatory lesson for every responsible and loving pet owner to master.