
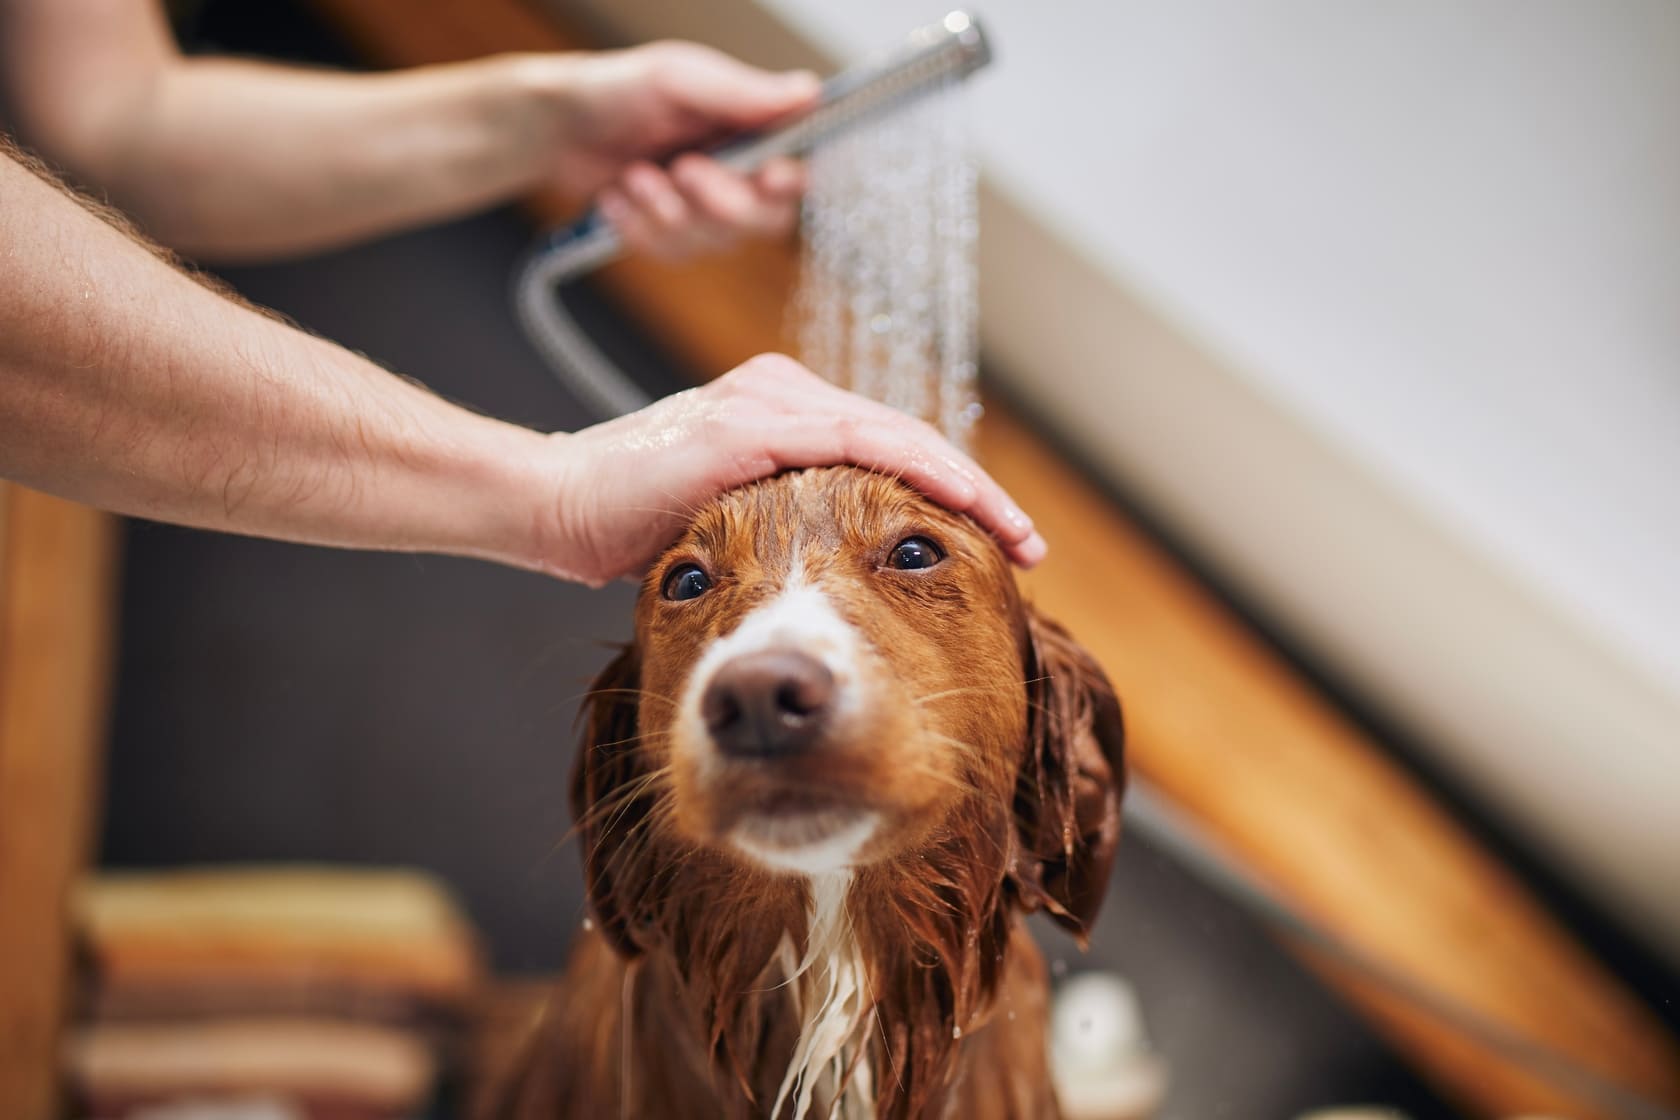
The "battle" of bath time has just ended. Your beloved dog, smelling fresh and looking brand new, happily dashes out of the bathroom, gives a mighty shake of the head, and sends water flying everywhere, making you laugh. It's a heartwarming and familiar scene. However, amidst the laughter, a potential health crisis may be quietly brewing.
For dogs and cats, especially breeds with floppy ears or those with abundant hair inside the ear canal, the water that enters their ears after a bath doesn't just "shake right out" as we might think. It is the most common trigger for painful ear infections. The health of their ears depends entirely on what you do—or don't do—in those critical ten minutes after they're done shaking.
This is more than just a cleaning guide. It is an action manual designed to help you rescue your pet from the stubborn nightmare of recurring ear infections. We will follow professional veterinary advice to break down every correct step, from prevention to drying.
dog water in ear after bath, how to clean dog's ears, preventing dog ear infections, otitis externa in dogs, drying dog's ears, Malassezia otitis, safe dog ear cleaner, dog shaking head after bath
The Dangerous "Breeding Ground": Why the Post-Bath Ear Canal is a Health Minefield
To understand why you can't be complacent about water in the ears, we must first understand the unique structure of the canine and feline ear canal.
The Scientific Principle: The L-Shaped Canal and the Microbial "Party"
-
Source: The Merck Veterinary Manual, the authoritative global reference in the veterinary field.
-
Core Argument: The chapter on ear diseases in this manual explains in detail that a dog's or cat's ear canal is not straight like a human's, but rather has an "L" shape—it runs vertically downwards first, then extends horizontally towards the eardrum. This structure makes it extremely easy for liquid to get "poured in, but not poured out." Residual water from a bath creates a warm, humid, dark, and poorly ventilated "perfect breeding ground" within the canal.
-
Consequences: This breeding ground is a paradise for the explosive growth of yeast (especially Malassezia) and bacteria (like Staphylococcus and Pseudomonas). Their overgrowth directly leads to Otitis Externa (outer ear infection), which manifests as itching, pain, redness, swelling, and a foul-smelling discharge. It can further develop into more serious middle or inner ear infections.
The Three Pillars of Ear Care: Prevention, Cleaning, and Drying
A complete, scientific ear care routine consists of three interconnected parts.
Pillar 1: Prevention is Better Than Cure - Proactive Measures
The ideal situation is to prevent water from entering the ear canal as much as possible during the bath.
-
The Cotton Ball Barrier: Before the bath, take two appropriately sized cotton balls and gently place them in the outer part of your pet's ear canals (be careful not to push them too deep) to create a physical barrier. Remember to remove them immediately after the bath is over.
-
"Wash from the Neck Down": Whether using a shower or a tub, always follow the principle of "washing from the neck down." The head and face should be cleaned last, separately and carefully, with a damp washcloth or a very gentle stream of water, avoiding direct water flow into the ears at all times.
Pillar 2: Scientific Cleaning - The Right Steps and Tools
If you suspect water has entered, or as part of a regular maintenance routine, proper cleaning is essential.
-
Source: Health care guidelines published by the American Kennel Club (AKC).
-
Core Steps:
-
Choose the Right Cleaner: You must use a professionally formulated pet ear cleaning solution recommended by a veterinarian. These products contain safe ingredients that can dissolve earwax, regulate the pH of the ear canal, and have some antimicrobial properties. Never use plain water, alcohol, hydrogen peroxide, or any human ear drops.
-
"Fill" and Massage: Have your pet tilt its head to one side, lift the ear flap, and pour a generous amount of the ear cleaner into the canal until you can almost see it overflowing.
-
The Crucial Massage: This is the most important step. Use your hand to repeatedly and gently massage the cartilage at the base of the ear (below the ear, on the side of the cheek) for about 20-30 seconds. You should hear a "squishing" sound, which indicates the cleaner is effectively dissolving debris deep inside.
-
Let Them "Shake": Release your hold, step back, and let your pet shake its head vigorously. The centrifugal force will expel the dissolved debris and excess liquid.
-
Wipe the Exterior: Finally, use a clean cotton pad or gauze wrapped around your finger to gently wipe away any visible dirt from the ear flap and the visible part of the ear canal. Never use cotton swabs to try to clean deep inside, as this will only push debris further in and risks damaging the eardrum.
-
Pillar 3: The Decisive Step - Safe and Thorough Drying
After cleaning, the inside of the ear canal is still damp. Safely and thoroughly drying the ear flap and the entrance to the canal is the final insurance policy against infection.
-
Drying the Pinna (Ear Flap): Use a soft, dry cloth or cotton pad to carefully dry all the folds of the inner and outer ear flap.
-
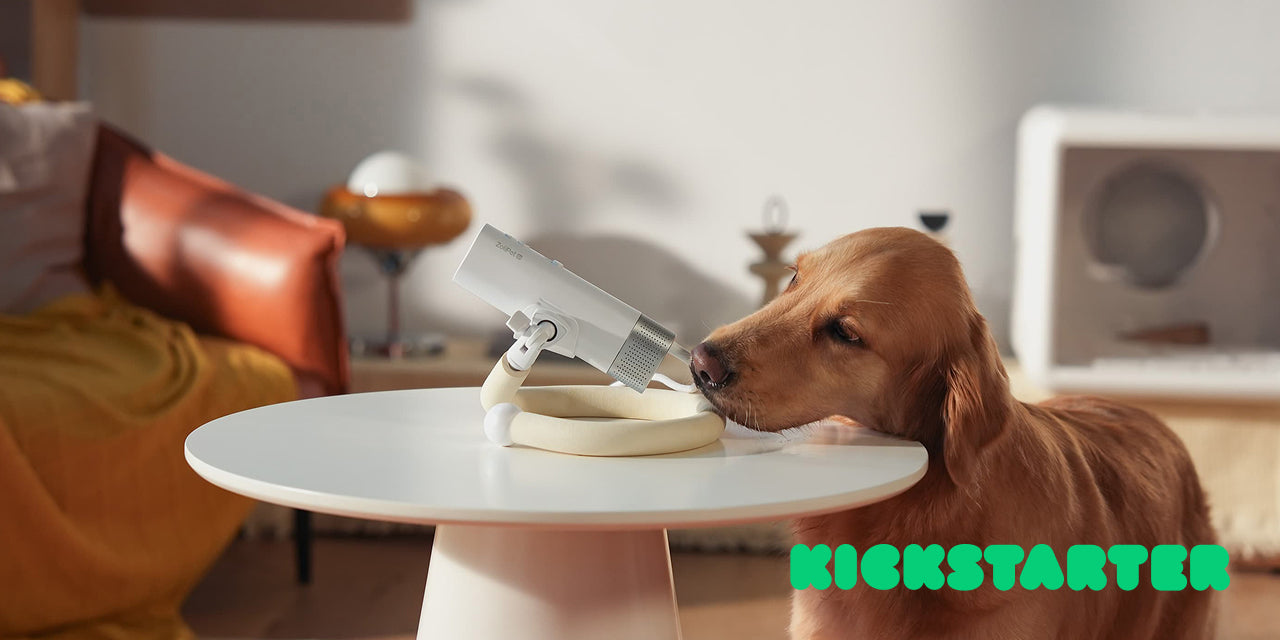
Drying the Ear Canal Opening: This is where a pet dryer plays a key role.
-
Choose the Right Tool: You must use a professional pet dryer with a reliable no-heat or low-temperature setting, and adjustable airflow speed.
-
Safe Technique: Use the lowest, gentlest setting of cool or slightly warm air, from a safe, considerable distance (about 8-12 inches or 20-30 cm), and aim it at the ear flap area. Your goal is to dry the fur outside and at the entrance of the ear canal, using the moving air to wick away moisture. Absolutely, positively never aim the nozzle directly into the ear canal, as this can damage the eardrum. Throughout the process, you can use your hand to feel the temperature of the air, ensuring it remains comfortable.
-
Real-World Cases: From "Recurring Nightmare" to "Once and for All"
Case Study #1: The Cocker Spaniel Let Down by "Shaking it Off"
-
Case Source: An online forum dedicated to Cocker Spaniel ownership experiences.
-
Time & People: Summer 2024, an owner and her 4-year-old Cocker Spaniel, "Daisy." As a classic floppy-eared breed, Cocker Spaniels are highly prone to otitis externa.
-
Problem Progression: The owner noticed that almost every second week after a bath, Daisy would start shaking her head and scratching her ears frequently. Her ears would emit a strong odor and have a dark brown discharge. Each time, she would take Daisy to the vet, get a diagnosis of "Malassezia Otitis," go through a week of applying medication and cleaning, only for the infection to recur after the next bath. She was stuck in a vicious cycle and had resigned herself to it being an unsolvable "breed problem."
-
Veterinary Intervention & Outcome: After another relapse, she saw a different veterinarian. This vet, after inquiring in detail about her post-bath routine, pointed out bluntly: "You've only been treating the infection, but you've never done the prevention correctly. For a Cocker Spaniel, post-bath ear care is as routine and necessary as eating and drinking." The vet demonstrated the full "Prevent-Clean-Dry" protocol, placing special emphasis on the importance of using a dryer on a low-temperature setting to dry the ear flaps and surrounding fur. The owner went home and followed the new routine strictly. She wrote excitedly in her post: "It's like magic! Ever since I started doing the full routine after every bath, especially the final drying step, Daisy's ears haven't had a single flare-up in six months! It turns out the problem wasn't her breed; it was my ignorance."
Case Study #2: The Poodle Owner Who "Fired" Her Professional Groomer
-
Case Source: A client story shared on a professional groomer's social media page.
-
Time & People: 2025, the groomer and her long-time client, the owner of a Standard Poodle named "Winston." Poodles have profuse hair growth within the ear canal, also making them a high-risk group for ear infections.
-
Background & Transformation: Winston's owner initially brought him to the salon every two weeks for professional grooming and ear cleaning because she was afraid of doing it wrong herself. One day, while the groomer was working, she explained every step in detail, including how to use the professional ear cleaner and, finally, how to use the force dryer's lowest setting to gently dry the ear area.
-
Measures Taken & Outcome: The owner, a quick-learning engineer, decided to replicate this professional process at home. She purchased the same ear cleaner the groomer used and a quiet, temperature-controlled dryer. She strictly followed the "Prevent-Clean-Dry" trifecta. The groomer jokingly wrote in her post: "Winston hasn't been in for a bath in three months. His owner sent me a picture of his ears the other day—clean, healthy, with no redness or odor. She said she's now completely confident in handling it all herself. While I may have 'lost' a regular client, I am genuinely happy for her and Winston. Isn't our goal, after all, to empower every owner to become their pet's 'professional caregiver'?"
Conclusion: Integrate Ear Care into Your Regular Routine
Please consider post-bath ear inspection, cleaning, and drying as an indispensable step, just as important as drying the body. This simple, scientific routine is a "health investment" with an extremely high rate of return. It will not only free your beloved pet from the immense pain of ear diseases but also relieve you from the financial and emotional stress of repeated vet visits. One correct procedure is worth more than ten reactive treatments.